Day 28 Task: Jenkins Agents
Table of contents
🔹Jenkins Master (Server)
Jenkins’s server or master node holds all key configurations. The Jenkins master server is like a control server that orchestrates all the workflow defined in the pipelines. For example, scheduling a job, monitoring the jobs, etc.
🔹Jenkins Agent
An agent is typically a machine or container that connects to a Jenkins master and this agent executes all the steps mentioned in a Job. When you create a Jenkins job, you have to assign an agent to it. Every agent has a label as a unique identifier.
When you trigger a Jenkins job from the master, the actual execution happens on the agent node that is configured in the job.
A single, monolithic Jenkins installation can work great for a small team with a relatively small number of projects. As your needs grow, however, it often becomes necessary to scale up. Jenkins provides a way to do this called “master to agent connection.” Instead of serving the Jenkins UI and running build jobs all on a single system, you can provide Jenkins with agents to handle the execution of jobs while the master serves the Jenkins UI and acts as a control node.

🔹Pre-requisites
Let’s say we’re starting with a fresh Ubuntu 22.04 Linux installation. To get an agent working make sure you install Java ( same version as Jenkins master server ) and Docker on it.
Note:- While creating an agent, be sure to separate rights, permissions, and ownership for jenkins users.
🔹Task
Create an agent by setting up a node on Jenkins
Create a new AWS EC2 Instance and connect it to master(Where Jenkins is installed)
The connection of master and agent requires SSH and the public-private key pair exchange.
Verify its status under "Nodes" section.
Use labels for the agent, your master server should trigger builds for the agent server.
Launch an EC2 Instance:
Log in to your AWS Management Console.
Launch a new EC2 instance using an Amazon Machine Image (AMI) of your choice (e.g., Ubuntu, Amazon Linux).
Make sure to configure the Security Group to allow SSH access from your Jenkins master server.
Connect to the EC2 Instance:
Use SSH to connect to the EC2 instance from your Jenkins master server:
ssh -i /path/to/your/private-key.pem ec2-user@<instance-public-ip>Generate an SSH Key Pair
If you haven't already generated an SSH key pair, you can do so using the following command on your local machine:
ssh-keygen -t ed25519Copy the public key from the Jenkins master node to Agent:
cat ~/.ssh/id_rsa.pubOn the Jenkins agent (slave node), add the public key to the
~/.ssh/authorized_keysfile. Create the file if it doesn't exist.sudo nano ~/.ssh/authorized_keys #add public-ipSet the correct permissions for the
.sshdirectory andauthorized_keysfile on the agent:chmod 700 ~/.ssh chmod 600 ~/.ssh/authorized_keysInstall Jenkins on the master
 sudo apt update
 sudo apt install openjdk-11-jre
 #Install Jenkins
 curl -fsSL https://pkg.jenkins.io/debian-stable/jenkins.io-2023.key | sudo tee \
   /usr/share/keyrings/jenkins-keyring.asc > /dev/null
 echo deb [signed-by=/usr/share/keyrings/jenkins-keyring.asc] \
   https://pkg.jenkins.io/debian-stable binary/ | sudo tee \
   /etc/apt/sources.list.d/jenkins.list > /dev/null
 sudo apt-get update
 sudo apt-get install jenkins
 #Start jenkins
 sudo systemctl enable jenkins
 sudo systemctl start jenkins
 sudo systemctl status jenkins
Install Docker, docker-compsoe and java on Jenkins-Slave.
 sudo apt install docker.io
 sudo apt install docker-compose -y
 sudo apt install openjdk-11-jre
 sudo usermod -aG docker $USER
 sudo reboot
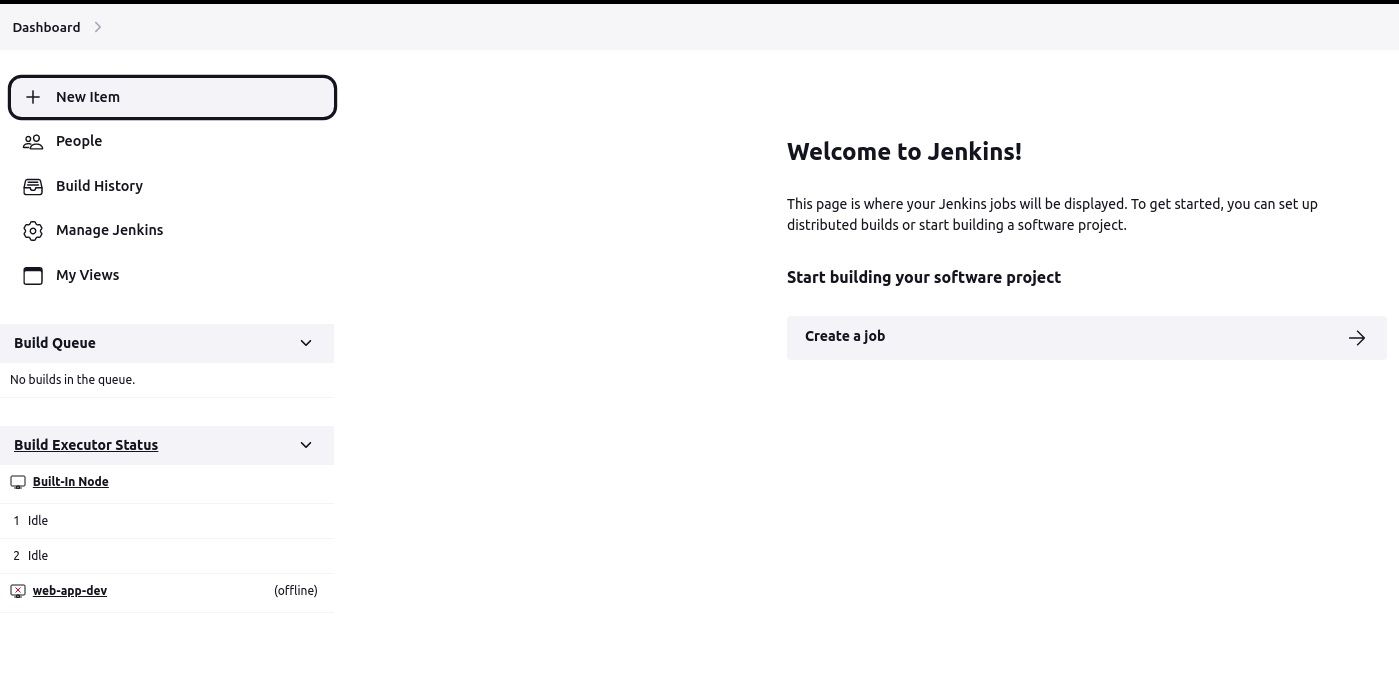
From the Jenkins dashboard, click on "New Item" to create a new project.

In your Jenkins web interface, navigate to "Manage Jenkins" > "Nodes".

Enter Node name and click on Permanent Agent.

In the agent configuration, assign a label to the agent. This label will be used to specify which jobs should run on this agent. For example, you can assign the label "dev-agent" to the agent.

Usage: Use this node as much as possible
Launch method: Launch agents via ssh
Host: Enter Jenkins-slave public-ip
Credentials: Add
Host Key Verification Strategy: Non-verifying Verification Strategy
Availability: Keep this agent online as much as possible


Save the configuration.

From the Jenkins dashboard, click on "New Item" to create a new project.

Enter a project name and select "Pipeline" Click "OK" to create the project.

In your pipeline script or configuration, specify the label of the slave node where you want the pipeline to run. You can do this using the
agentdirective in your Jenkinsfile or by configuring the node label in the pipeline job configuration in the Jenkins web interface.
save the configuration.
Click on Build Now.

